Generate Your First Render with Neolocus AI
Follow this quick guide to produce your first AI-powered render.
Here, you’ll learn how to generate your first AI renders with Neolocus. This quick guide will walk you through the process step-by-step. The features that let you do this are Interior AI & Exterior AI.
Step 1: Upload Your Sketch
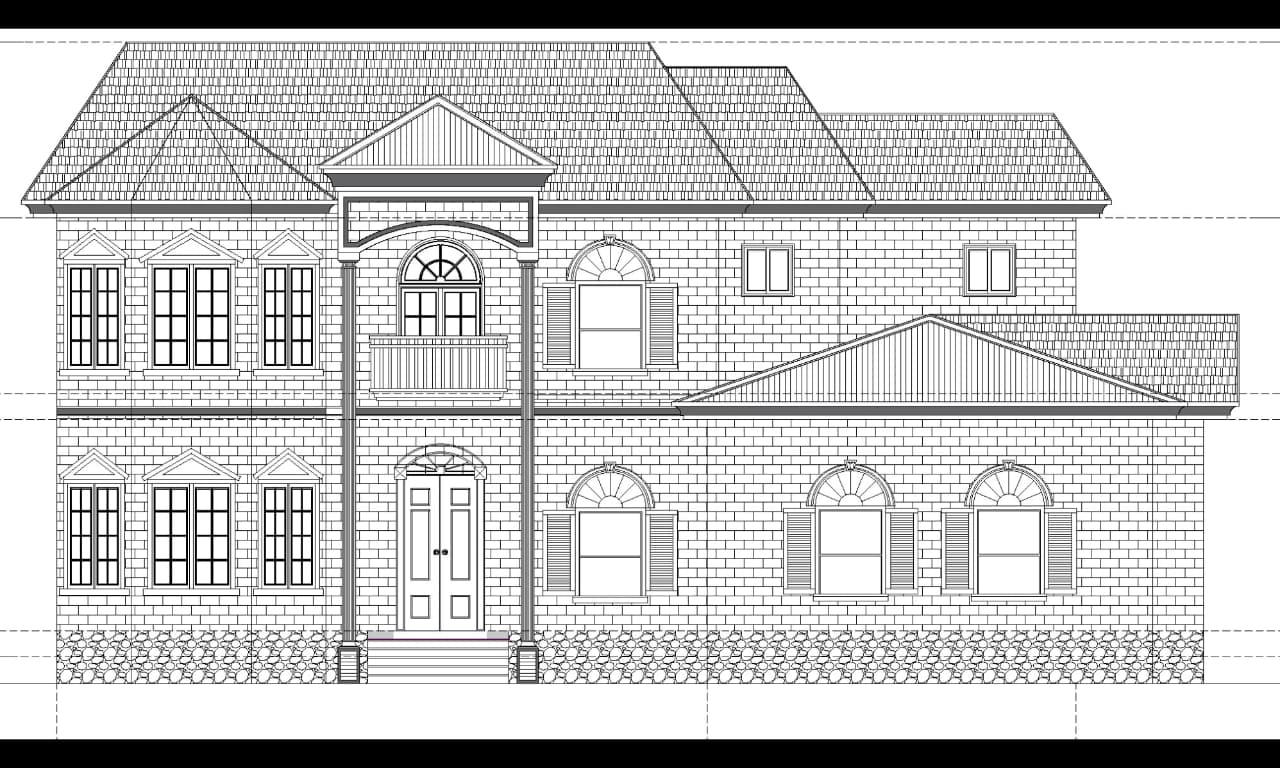
Start by uploading your design. Neolocus AI accepts JPG, PNG and WEBP formats, and it works best with 3D sketches from SketchUp or Revit.
Avoid using 2D floor plans, as they won’t provide enough detail for accurate rendering.

Step 2: Set Your Parameters
Now, customize your render:
- Precise: Photorealistic detail.
- Balanced: A blend of creativity and realism.
- Creative: Stylized, experimental renders.
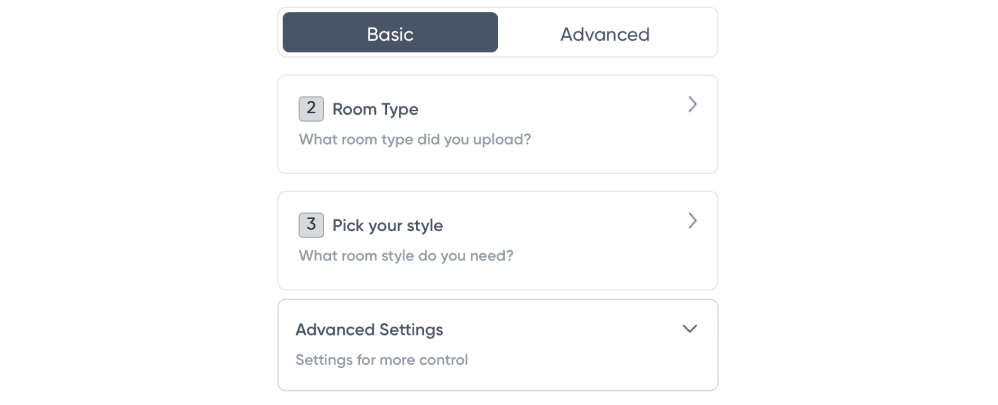
Room Type: Select the room type (living room, kitchen, etc.).
Pick Your Style: Choose the design style (minimalist, rustic, modern, etc.).
Render Mode:
Extra Parameters: Adjust settings like prompt influence for more control.

Step 3: Generate and Save
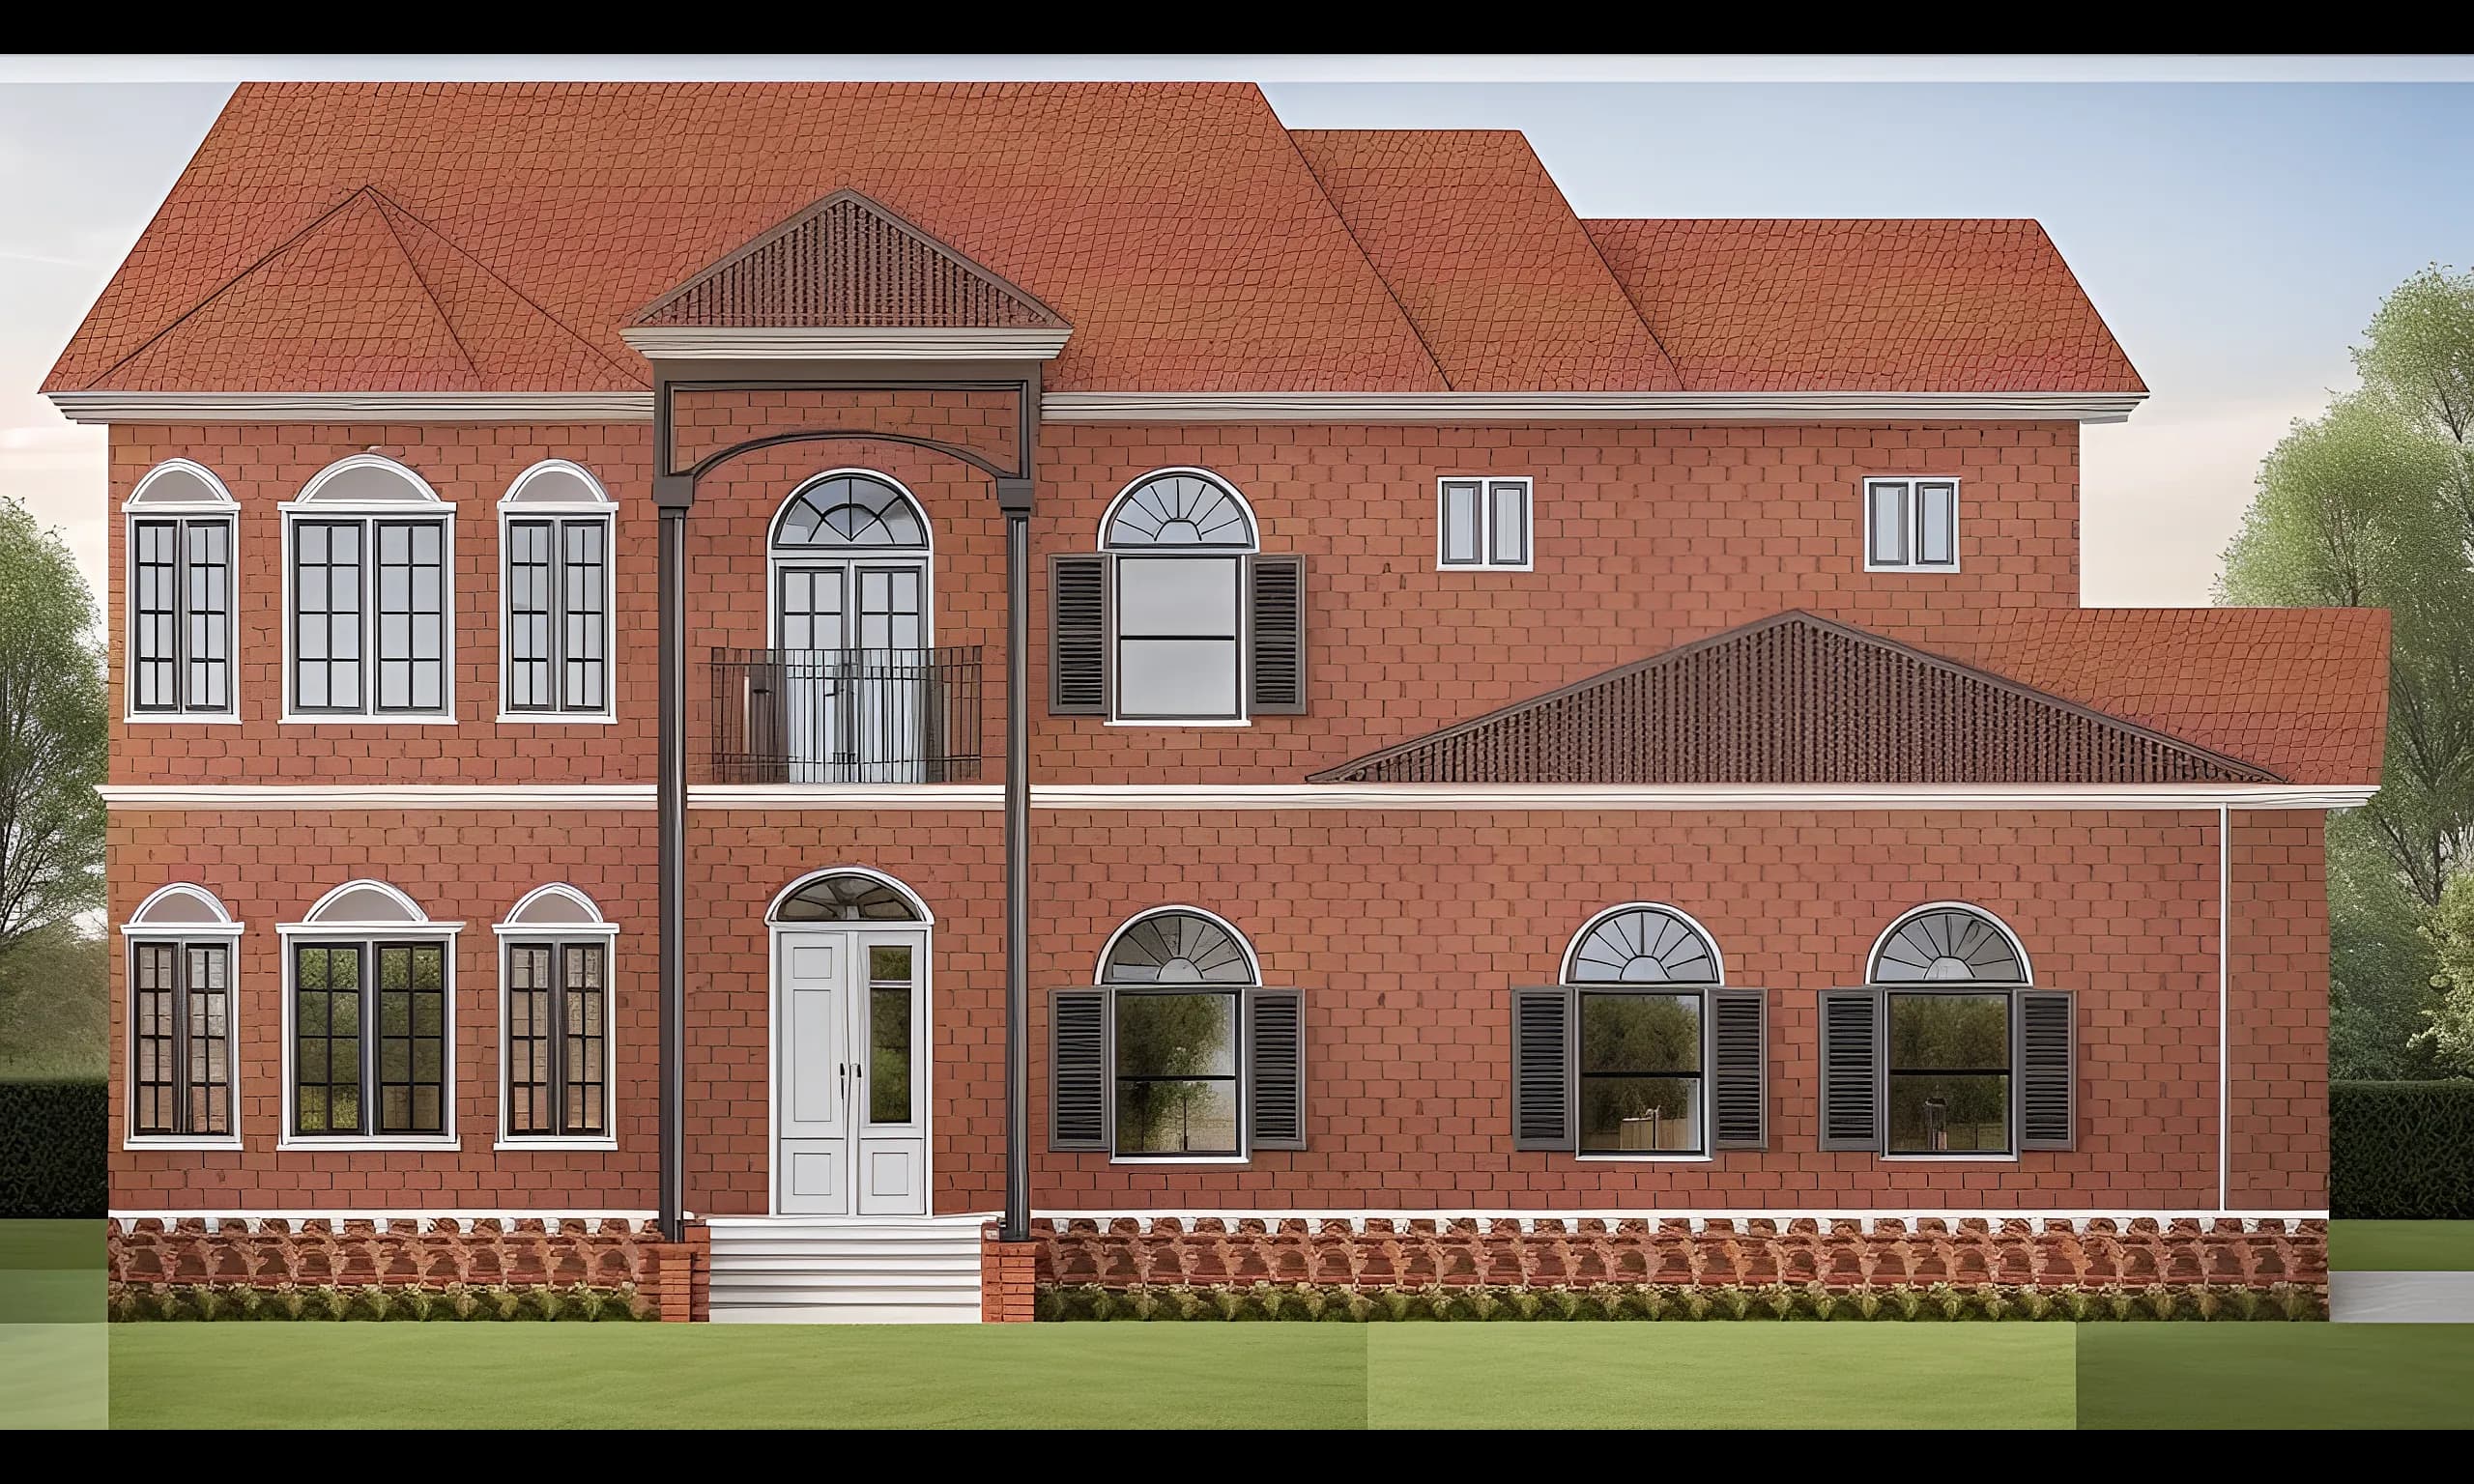
Hit Generate, and Neolocus AI will produce four renders in seconds. You can:
- Save to gallery for future access.
- Download or 4K Download for presentations or client use.

For more information and media inquiries, please contact:
- Website: neolocus.ai
- Instagram: instagram.com/neolocus_tech/
- LinkedIn: linkedin.com/company/neo-locus/
- Email: nom@neo-locus.com
