Edit Your First Render with Neolocus AI: Using Modify AI
Follow this quick guide to edit and modify your AI-generated renders.
Welcome to the next step of your Neolocus AI onboarding! Now that you’ve generated your first ai render, let’s explore how to edit your render with Modify AI.
Here’s a simple step-by-step guide on how to use Modify AI to edit your ai renders.
Step 1: Upload Your Image
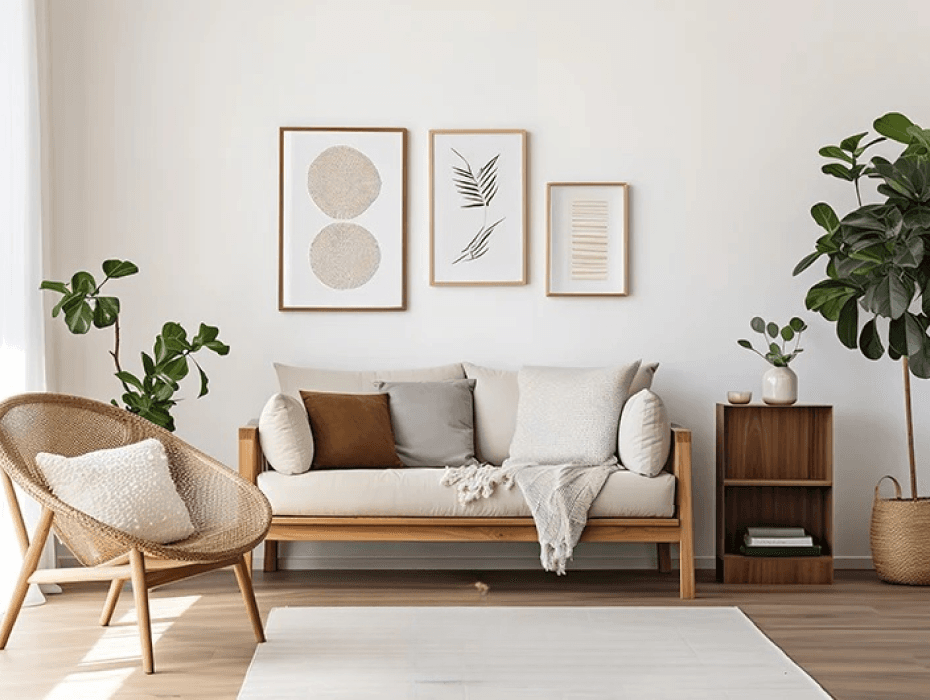
First, upload the render or image you want to modify. Simply use the upload button to select the image, and Neolocus AI will get it ready for editing.
Make sure the image is a JPG, PNG, or WEBP file, and you’re good to go.

Step 2: Select Furniture or Areas to Replace
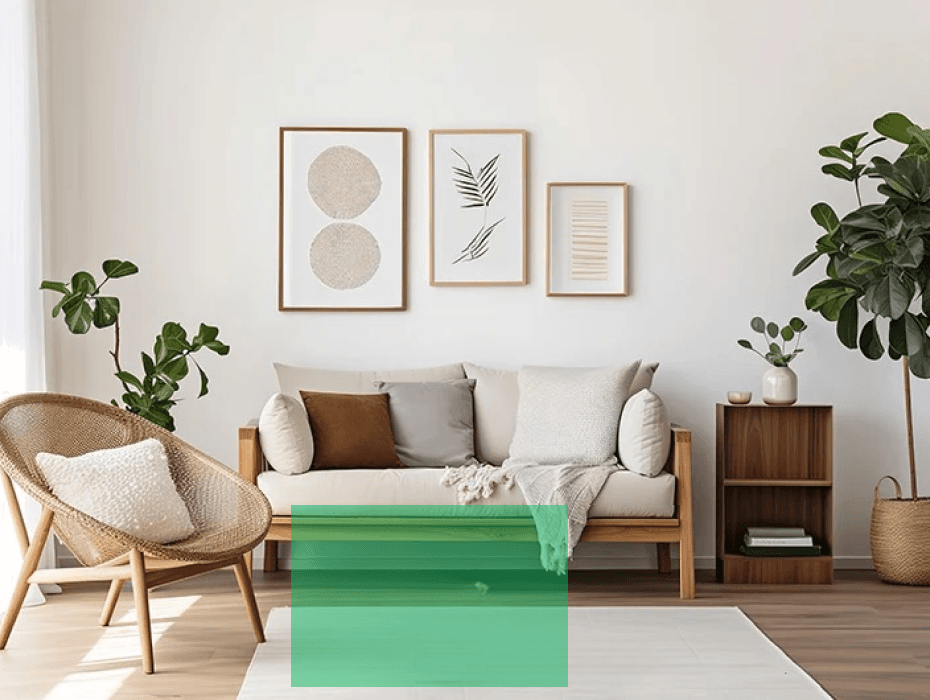
Once your image is uploaded, use the brush tool to highlight specific furniture or objects you want to replace. Ensure the whole area is highlighted in green for the best result.

Step 3: Enter Your Prompt
In the Prompt section, describe the object you would like to insert or replace. The more specific your description, the better the AI will match your request.

Step 4: Generate and Review
Hit Generate, and within seconds, Neolocus AI will apply the changes to your ai render. You can then review the result, save it to your gallery, or download the modified ai render for free.

For more information and media inquiries, please contact:
- Website: neolocus.ai
- Instagram: instagram.com/neolocus_tech/
- LinkedIn: linkedin.com/company/neo-locus/
- Email: nom@neo-locus.com
