How to Render in Revit | AI Interior Render
In this guide, we will show you how to quickly render your projects in Revit using Neolocus, an AI-powered platform designed for interior design and architectural visualization.
Rendering in Revit can be a powerful way to bring your architectural designs to life. However, traditional rendering can often be time-consuming, especially when you’re aiming for high-quality, photorealistic outputs. Luckily, with advancements in AI render architecture, the process has become much more efficient. In this guide, we’ll show you how to quickly render your projects in Revit using Neolocus, an AI-powered platform designed for interior design and architectural visualization. Follow these simple steps to take your designs to the next level!
In this guide, we will show you how to quickly render your projects in Revit using Neolocus, an AI-powered platform designed for interior design and architectural visualization.

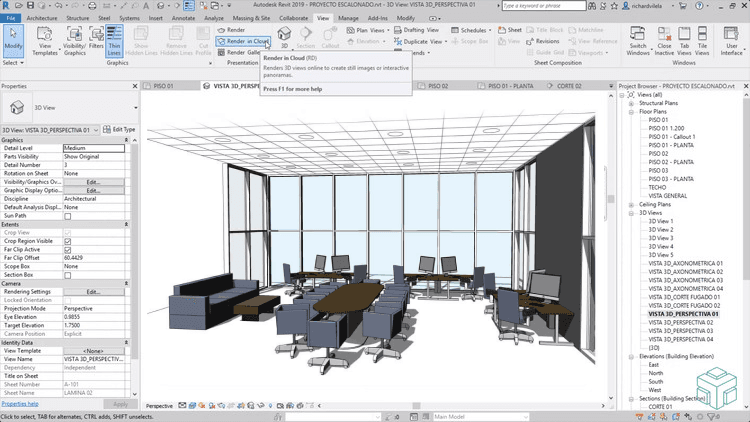
Step 1: Open Your Revit Project and Take a Screenshot
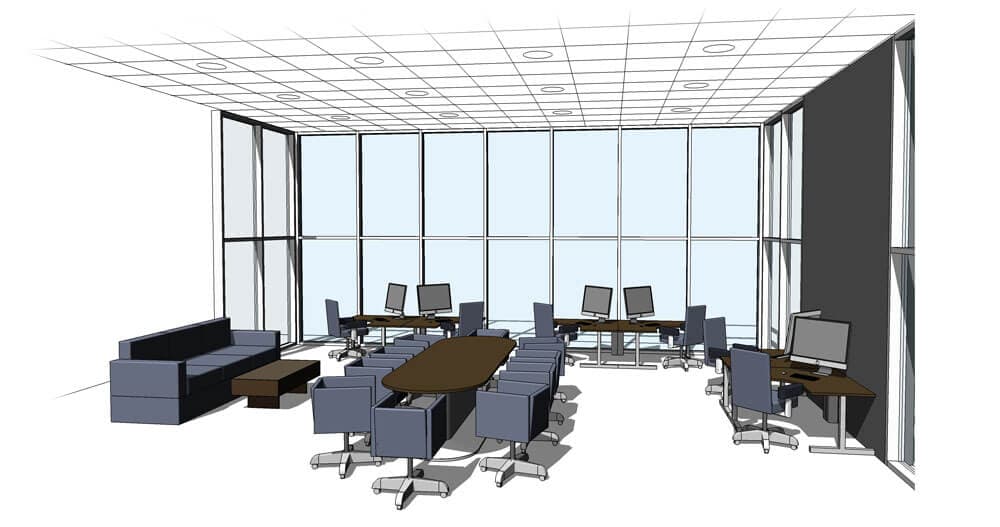
The first step to rendering your design in Revit is to open your project. Make sure you are displaying the exact angle you want to render. Take a screenshot of your model. This will be your reference image for the AI rendering process. Remember, you do not need to spend hours fine-tuning in Revit anymore; AI interior design tools can enhance your designs with just a few clicks!

Step 2: Open Neolocus
Now that you have got your screenshot, head over to Neolocus. Neolocus is a cutting-edge platform that provides AI-powered rendering for interior design and architecture, offering high-quality outputs in seconds.

Step 3: Create a Free Account
To start rendering your designs with Neolocus, you will need to create a free account. Signing up is simple and takes just a few minutes. Plus, it gives you access to all the core features of Neolocus, including the ability to create stunning interior renders at no cost.

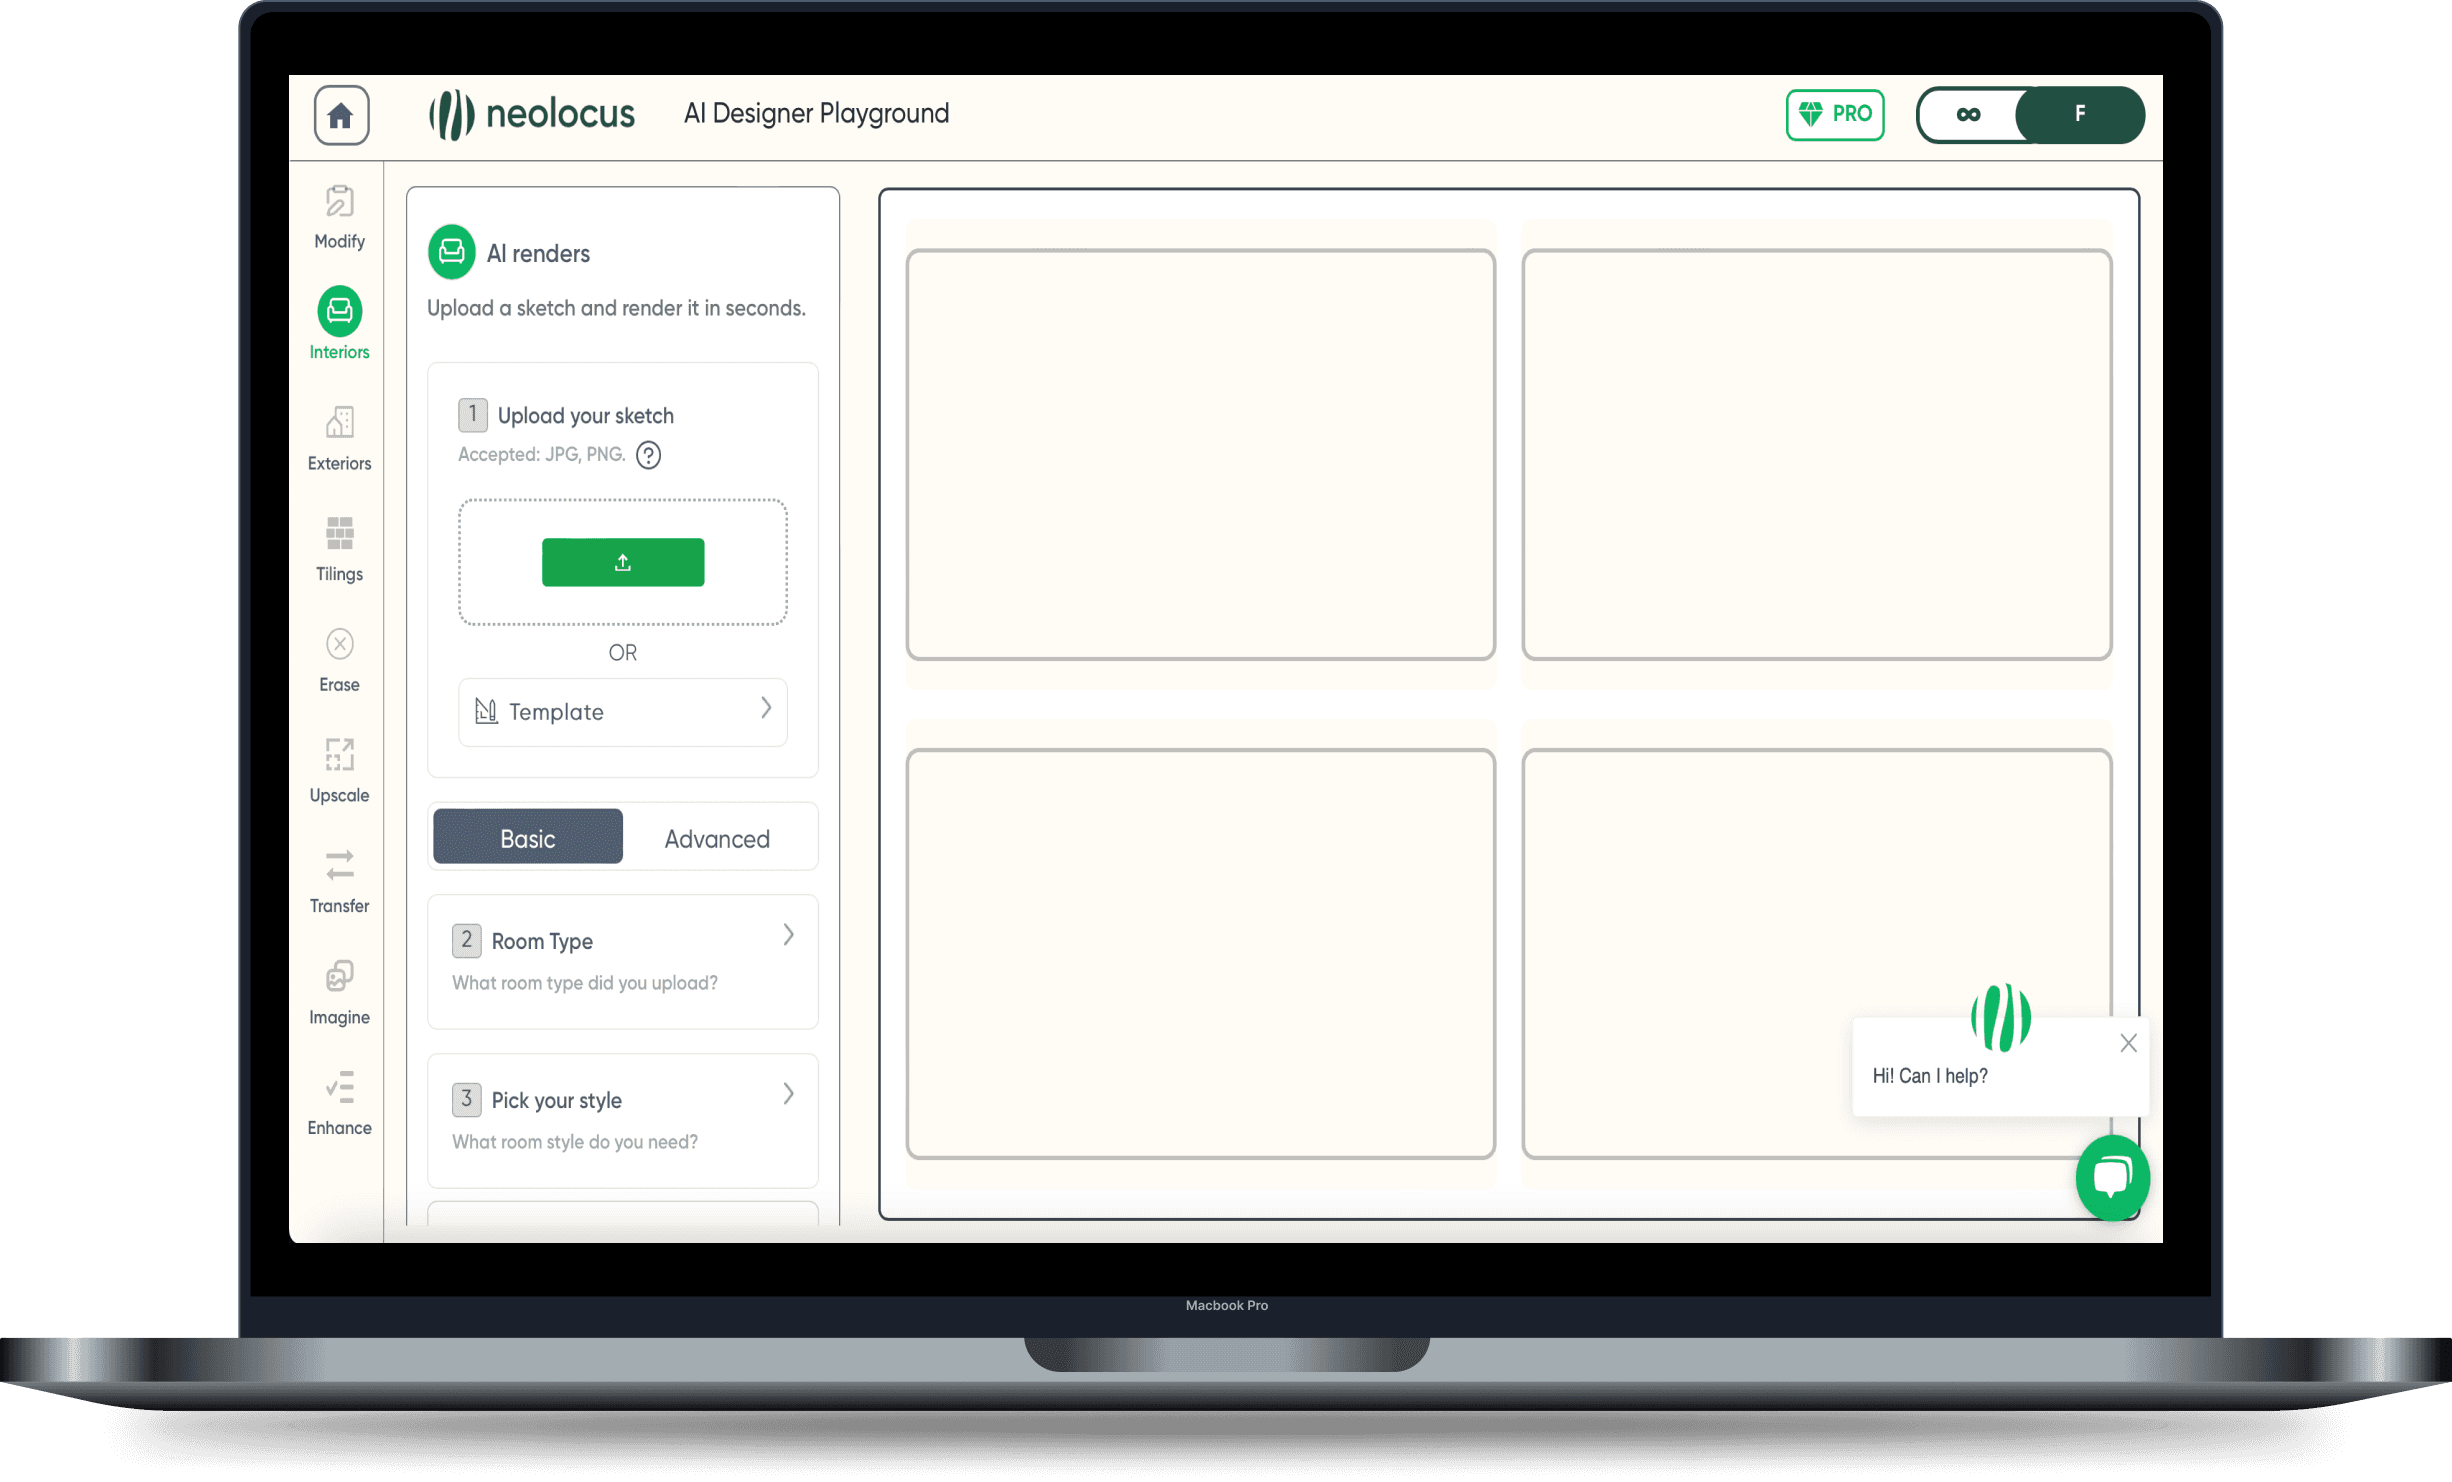
Step 4: Open the Interiors Feature
Once logged in, navigate to the Interiors feature. This feature is specifically designed for AI interior design and rendering, allowing you to upload your Revit screenshot and choose from a variety of rendering options. Whether you are working on a sleek modern living room or a cozy office space, Neolocus offers customization to fit your style. Just select the right parameters and click Generate!

Step 5: Done!
And that is it! Your design is rendered and ready to showcase. Whether you need the interior render AI for a presentation, client approval, or simply for refining your design, Neolocus makes it easy to create beautiful, detailed images in just minutes. With Neolocus, you can skip the lengthy render times and go from Revit model to high-quality output in no time. No more stressing about how to render in Revit—let Neolocus handle the heavy lifting while you focus on design creativity.

Why Use Neolocus for Your Revit Renders?
Unlike traditional rendering engines that require intensive hardware and long wait times, Neolocus leverages AI render architecture to speed up the entire process. Here’s why Neolocus is the best choice for Revit rendering:
- Efficiency: Get professional-grade renders in a fraction of the time.
- Customization: Adjust textures, materials, and lighting quickly and easily.
- AI-Powered: Use Neolocus’s interior render AI to automatically enhance your designs with lifelike realism.
- Free Room Design Tools: Take advantage of free room design features to experiment and create stunning interiors without breaking the bank.
Whether you’re an architect, interior designer, or hobbyist, Neolocus makes it easy to get top-tier results with minimal effort.
Ready to Get Started?
If you’re looking for the easiest way to render your Revit designs, sign up with Neolocus today and see how AI-powered rendering can revolutionize your workflow.
For more information and media inquiries, please contact:
- Website: neolocus.ai
- Instagram: instagram.com/neolocus_tech/
- LinkedIn: linkedin.com/company/neo-locus/
- Email: nom@neo-locus.com
